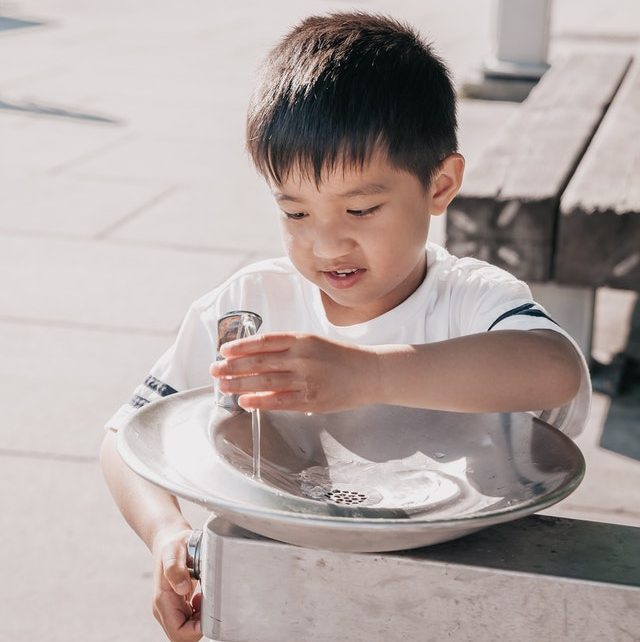
Have you finally decided to get a drinking water fountain for your backyard or garden? Do you know how to install one? Are there things you should consider before installation? If you are unsure of some of these questions, you’re in the right place.
You can call for professional help if you want a faucet installed, or you can do it yourself. If you decide to go the DIY way, you will need a guide. That’s exactly what this article is for. We will share a brief and concise 5-step process to help you set up your outdoor drinking faucet. Let’s dive in.
Step One: Research
Before you even buy a drinking water fountain, you need to know which one is the best fit for you.
You can find out from a store or a dealer near you which type of drinking water fountain is best for you. You can always find out online if there aren’t any dealers in your area.
Here are a few things you should look out for before you buy a drinking water fountain:
- Price
- Weight
- The material it is made of
- Type of supply system
- Brand
The remaining steps will be much easier to follow if you can get these right. Even if you already bought the faucet without research, you can still follow the steps below.
Step Two: Find a Good Location
The next step is to find a good location for your drinking water fountain—we advise using a location close to a primary water supply.
The distance between your primary source and the faucet system should be no more than 1 meter.
Another factor to consider when choosing a location is the surrounding facilities. You have to ensure there are no toilets or sewer drainages nearby. This will ensure that the faucet is kept from any type of germs and diseases.
Step Three: Install the Supply Systems
This is somewhat tricky, but don’t worry; we have you covered. The installation process of a drinking water fountain will not be the same for all fountains.
There are different types and different brands of fountains. So, you will have to work with the brand or type you have bought.
An installation guide will help, and you can also search online for tutorials. Here are some tools you’ll need:
- Installation guide or manual
- Adjustable wrench
- Screwdrivers
- Safety helmet (especially if the system is wall-mounted)
If the installation seems a bit tasking, you can always ask a neighbor or family member for help.
NB: At this initial installation stage, you might not need to permanently fix the faucet so you can test it.
Step Four: Test and Flush the System
When you have installed the drinking water fountain, the next step is to test it. You should make sure it works before any finishing touches.
Flush the supply to the faucet and leave it open, so the debris gets out. Next, connect the supply and test if the faucet system actually works. If everything seems right, you can move on to the next phase.
Step Five: Secure and Use
This is the final stage of our 5-step guide and is the most important. When you have tested the system, the next thing to do is make sure the drinking water fountain is securely attached to the ground or wall, as the case may be.
Any other finishing touches, like knobs or decorative screws, can also be added at this stage.
Conclusion
Installing a drinking water fountain may seem impossible at first. But with proper guidance, we bet you’re up to the task. We hope this guide will make this DIY project a lot easier for you. Thank you.